I. Introduction
Having properly aligned headlights is essential for safe driving at night. Not only do they help you see the road ahead, but they also prevent blinding other drivers on the road. In this article, we will guide you through the process of adjusting your headlights, provide solutions for common misalignment issues, and offer safety tips to keep you protected throughout the process.
II. Step-by-Step Guide to Adjusting Headlights
Before we begin, it’s important to note that the process of adjusting headlights may vary depending on the make and model of your vehicle. For this article, we will assume that you are working with a standard sedan.
In order to adjust your headlights, you will need the following tools:
- A measuring tape
- A marker or pen
- A screwdriver (flat or Phillips head depending on your car)
- A wrench or pliers
Once you have gathered your tools, follow these simple steps:
- Park your car on level ground approximately 10 feet away from a wall.
- Measure the distance between the ground and the center of your headlights, and mark this spot on the wall with a piece of tape or marker.
- Turn on your headlights and observe where the beams are hitting the wall. They should be centered on the mark you made, without pointing too high or too low.
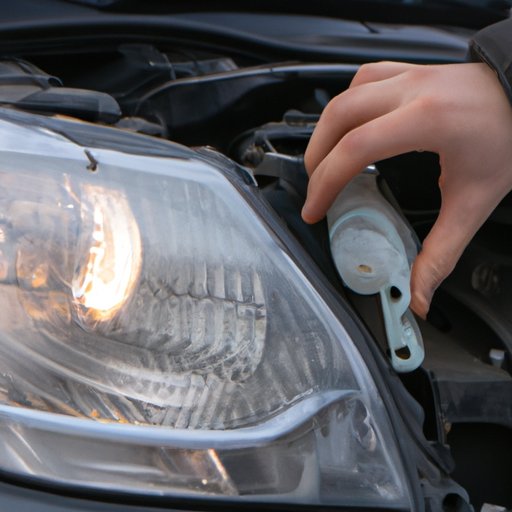
- If the beams are misaligned, locate the adjustment screws near the headlight assembly. On some models, these screws can be found near the headlight bulb, while on others, they will be near the back of the headlight assembly.
- Using a screwdriver and/or wrench, adjust the screws until the beams are centered on the mark you made on the wall.
- Repeat this process for the other headlight.
Remember to test your headlights on the road to ensure that they are aligned properly.
III. Video Tutorial for Adjusting Headlights
If you’re more of a visual learner, you may find it helpful to watch a video tutorial on how to adjust headlights. Here is a great video tutorial that covers the entire process from start to finish:
Video Tutorial on Adjusting Headlights
Some key takeaways from this video include:
- The importance of using a level surface to park your car
- The correct positioning of the beams on the wall
- The location of adjustment screws on different car models
IV. Common Issues with Headlight Alignment
If your headlights are misaligned, the issue may be caused by a variety of problems, including:
- A faulty headlight assembly
- A loose adjustment screw
- A damaged headlight bulb
- An unevenly loaded vehicle
Fortunately, many of these issues can be resolved by adjusting the headlights using the steps outlined above. If you still experience issues after adjusting your headlights, you may need to replace the headlight assembly or take your car to a mechanic for a more in-depth inspection.
V. Different Types of Headlights and How to Adjust Them
There are several different types of headlights including halogen, HID, LED, and composite. Each type of headlight has its own unique challenges when it comes to adjusting, so it’s important to understand the differences between them.
Halogen: Halogen headlights are the most common type of headlight found in modern cars. They are relatively easy to adjust using the steps outlined above.
HID: HID headlights produce a brighter, more intense beam but can be more challenging to adjust. If you’re not confident in your ability to adjust HID headlights, it’s best to take your car to a mechanic.
LED: LED headlights are becoming more common, and are even more efficient than HID bulbs. They can be adjusted using a similar method to halogen headlights, but it’s important to follow the manufacturer’s recommendations.
Composite: Composite headlights are made up of different materials, making them harder to adjust. If you’re not sure how to adjust your composite headlights, consult your owner’s manual or take your car to a mechanic.
VI. Safety Precautions for Adjusting Headlights
Adjusting your headlights can be dangerous if not done correctly, so it’s important to take the necessary safety precautions. Here are a few things to keep in mind:
- Wear gloves to protect your hands
- Avoid looking directly at the headlights
- Make sure your car is turned off before attempting to adjust the headlights
- Be aware of moving parts such as the engine fan and drive belts
- If you’re not confident in your ability to adjust your headlights, take your car to a mechanic instead.
VII. Best Tools and Supplies for Adjusting Headlights
If you plan on adjusting your headlights at home, it’s important to have the right tools and supplies. Here are some of the best tools to have on hand:
- A measuring tape
- A marker or pen
- A screwdriver (flat or Phillips head depending on your car)
- A wrench or pliers
- Gloves to protect your hands
When it comes to supplies, you may also need replacement headlight bulbs or a new headlight assembly if the issue cannot be resolved through adjustment alone. Always consult your owner’s manual or a mechanic for guidance.
VIII. Conclusion
Adjusting your headlights is an important part of keeping yourself and other drivers safe on the road. By following the steps outlined in this article, you can ensure that your headlights are aligned properly and functioning at their best. Remember to always take the necessary safety precautions, and consult a mechanic if you’re not confident in your ability to adjust your headlights on your own.


