I. Introduction
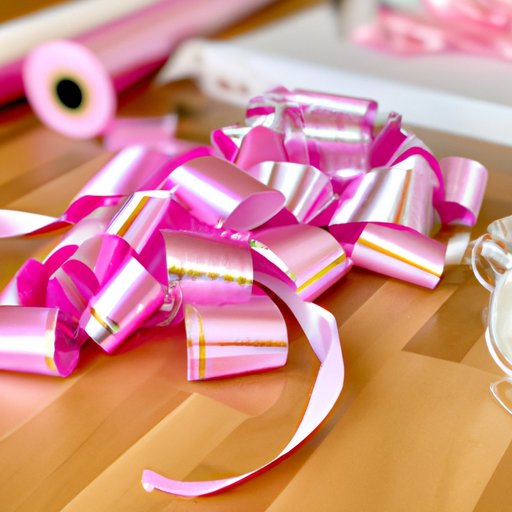
If you are looking for a fun, DIY project with ribbon, making bows is a great place to start. Whether you’re into DIY crafts or you need to create some bows for a specific event, ribbon bows can add a creative touch to various occasions.
In this article, we’ll walk you through the process of making different types of ribbon bows, and we’ll provide you with the tools to create visually appealing and unique bows that everyone will admire. This article is crafted to cater to any audience that needs to make a gift bow, a wedding bow, or any other kind of bow for an occasion.
II. Step-by-Step Guide
Let’s get started by creating a simple ribbon bow. These steps are easy, straightforward, and simple to follow:
- Cut a piece of ribbon, about 24-30 inches long, depending on how big you want your bow.
- Make two loops, with one loop facing up and the other loop facing down. Cross the loop facing up over the other loop.
- Pull the top loop through the center hole and tighten the knot.
- Fluff the loops and adjust the tails to your desired length.
III. Video Tutorial
For visual learners, we’ve got you covered. Here is a video tutorial that will take you through the process of making a simple bow with ribbon:
The key takeaways from the video include using a wire-edged ribbon to make the bow hold its shape, fluffing the loops to make them appear fuller, and making sure the tails of the bow are of the same length before snipping them off.
IV. Helpful Tips
Here are some helpful tips for making your ribbon bow-making endeavors simpler and faster:
- Choose the correct ribbon – a wired ribbon is the best for creating a bow that holds its shape.
- Use the right tools – sharp scissors and a hot glue gun can make the bow-making process less frustrating.
- Avoid overdoing it – less is more when it comes to the number of loops that make up the bow. Too many loops can make it difficult to handle.
- Experiment with different shapes – try folding the ribbon in half for narrow bows or use longer ribbon for bigger bows.
V. Showcase Ideas
Now that you have learned the basics, it’s time to unleash your creativity. Let’s look at some unique and creative bow designs:
- The Layered Bow – create this bow by stacking a smaller bow on top of a larger bow. It’s perfect for adorning a gift box or any other DIY project.
- The Pinwheel Bow – instead of using loops, try creating a bow with angled tails that meet at the center. It’s a fun, playful bow perfect for kids’ projects.
- The Pom-Pom Bow – make a bow entirely out of pom-poms of different sizes. This unique bow is perfect for adding a pop of color to any DIY project.
VI. Occasion-Based Bows
Different occasions call for different types of bows. Here are some occasion-based bows that you can make:
- Birthday bows – add some flair to a gift wrap with a colorful, polka-dotted, or striped bow.
- Wedding bows – create a white, elegant bow with some pearls or lace to add a touch of sophistication.
- Christmas bows – go green and make a bow out of a ribbon with a Christmas print. Add a little holly or mistletoe to the bow to make it more festive.
VII. Specialty Ribbon
If you want to add more variety to your bow-making, try using different types of ribbon, such as sheer ribbons, lace ribbons, or velvet ribbons. Here are the adaptations you need to make when using different types of ribbon:
- Sheer ribbons – use multiple layers to create a fuller bow, and be sure to fluff the loops well
- Lace ribbons – add a little texture to your ribbon by folding it on itself before creating the loops.
- Velve ribbons – use wire for your bow’s structure, and make the loops more rounded by wrapping them over a pencil or dowel.
VIII. Conclusion
Now that you have learned the basics of making ribbon bows, we hope you are inspired to create your own unique designs. Making bows with ribbon may seem daunting at first, but with some patience and practice, you’ll soon have an impressive collection of bows to dazzle everyone you know. Whether you’re creating a gift bow, a holiday bow, or any other kind of bow, you’re sure to have fun and enjoy the creative process.


