Introduction
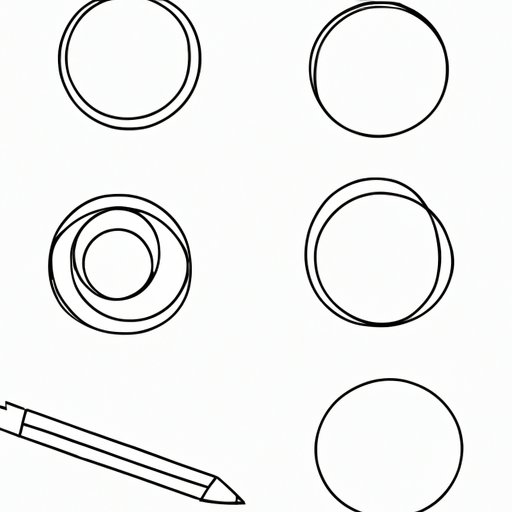
Drawing a perfect circle can be challenging, especially for beginners. However, practicing and learning the right techniques can make it much easier. This article aims to provide a step-by-step tutorial, along with practical tips and solutions, to help readers draw a perfect circle every time.
Step-by-Step Tutorial
Before we get started, you’ll need a pencil or pen, a piece of paper, and a steady hand.
- Hold the pencil or pen firmly, but not too tightly. This will help you maintain control while drawing.
- Place the paper on a flat surface and make sure it’s clean and smooth.
- Try to use your elbow as a pivot point instead of your wrist. This will help you draw smoother, more fluid circles.
Now, follow these simple steps to draw a perfect circle:
- Draw a dot in the center of your paper – this will be the starting point of your circle.
- Using your elbow as a pivot point, move your pencil in a circular motion around the center dot.
- Keep your hand and arm relaxed as you move the pencil around the dot.
- Follow the circular motion until you reach the starting point.
- Lift the pencil from the paper and admire your perfect circle!
Practice this technique until you feel confident and can draw a perfect circle without hesitation.
Video Tutorial
For a visual demonstration, watch this video tutorial that covers the same steps as the text tutorial:
Practice Tips
Here are some practical tips for practicing and improving your circle-drawing skills:
- Use a compass or a round object as a guide until you can draw a circle without help.
- Go slow and focus on your hand and arm movements.
- Start with small circles and gradually work your way up to larger ones.
- Experiment with different pencils and papers to find the ones that work best for you.
Don’t worry if your circles aren’t perfect at first – practice makes perfect!
Common Problems and Solutions
Here are some common problems people encounter when drawing circles, and how to overcome them:
- Uneven circles – try using a compass or round object as a guide until you feel comfortable drawing freehand.
- Jerky or shaky circles – try to relax your hand and arm as you draw. You can also practice drawing circles in a circular motion without touching the paper until you feel comfortable.
- Flat-sided circles – try to follow the circular motion all the way around, without stopping or lifting your pencil from the paper.
- Oval-shaped circles – try to keep the circular motion consistent and use your elbow as a pivot point.
There are many possible solutions to these problems; experiment with different techniques until you find what works best for you.
Creativity and Inspiration
Circles are not just for drawing perfect shapes, they can also be used as a foundation for creating more complex designs. Here are some ideas for using circles in art and design:
- Use circles to create patterns or abstract designs.
- Combine different sizes and colors of circles to create a collage or composition.
- Use circles as a starting point for drawing faces, flowers, or other objects.
The possibilities are endless – don’t be afraid to experiment and have fun with circles!
Conclusion
Drawing a perfect circle can be challenging, but with the right techniques and practice, anyone can do it. Follow the step-by-step tutorial and practice tips in this article to improve your circle-drawing skills.


