Introduction
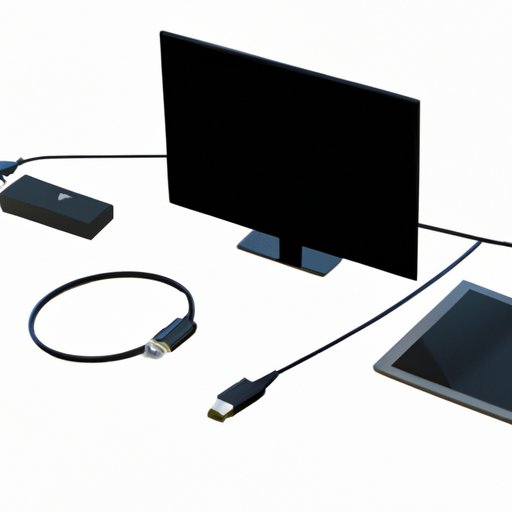
Do you find yourself always looking for additional screen space or struggling to multitask on your laptop? The good news is that you can connect multiple monitors to your laptop to increase your productivity and overall user experience. However, the process of connecting a second monitor to a laptop may seem daunting and confusing. Fear not, in this article, we’ll provide you with easy to follow steps to connect 2 monitors to a laptop.
Using HDMI
HDMI – High Definition Multimedia Interface is a common interface used to transmit audio and video signals from one device to another. It’s easy to use and can be found on most modern laptops and monitors. Here are the steps for connecting a second monitor to your laptop using HDMI:
1. Make sure your laptop and monitor both have an HDMI port.
2. Use an HDMI cable to connect your laptop’s HDMI port to the monitor’s HDMI port.
3. Switch your laptop’s display to “extended mode” to have different content on the two monitors.
Utilizing VGA
Another way to connect a second monitor to your laptop is through the VGA – Video Graphics Array interface. VGA is an analog interface that supports high resolution and is also supported by most modern laptops and monitors. Follow the steps below to connect your second monitor using VGA:
1. Check if your laptop and monitor have VGA ports.
2. Connect your laptop’s VGA port to the monitor’s VGA port using a VGA cable.
3. Switch your laptop’s display mode to “extended” to enable different content on the two monitors.
DisplayPort
DisplayPort is a digital interface created to replace VGA and HDMI, allowing for higher resolutions and faster refresh rates. Here’s how to connect a second monitor to your laptop using DisplayPort:
1. Check if your laptop and monitor have DisplayPort ports.
2. Connect the laptop’s DisplayPort port to the monitor’s DisplayPort port using a DisplayPort cable.
3. Ensure that your laptop’s display settings are set to “extended mode.”
Using a USB to HDMI Adapter
If your laptop does not have native HDMI or DisplayPort ports, don’t worry. You can still connect a second monitor through a USB to HDMI adapter. Follow these steps to connect a second monitor to your laptop using a USB to HDMI adapter:
1. Purchase a USB to HDMI adapter and connect it to your laptop’s USB port.
2. Connect the HDMI cable to the adapter and monitor’s HDMI port.
3. Configure the display settings on your laptop to “extend” the display.
Using a Docking Station
A docking station is another way to connect multiple monitors to your laptop without purchasing additional cables or adapters. Here’s how to set it up:
1. Connect your docking station to your laptop.
2. Connect the second monitor to the docking station’s video output port.
3. Configure your laptop’s display settings to “extended mode.”
Wi-Fi Display
If you prefer a more wireless approach, consider Wi-Fi Display or WiDi. It allows you to wirelessly connect your laptop to a second monitor that supports it. Here’s how to use Wi-Fi Display:
1. Confirm that your laptop has a wireless adapter that supports Wi-Fi Display.
2. Enable Wi-Fi Display on your second monitor.
3. Select your monitor from the list of available devices on your laptop.
Miracast
Miracast is another wireless option that lets you stream content from your laptop to your second monitor. Here’s how to connect using Miracast:
1. Confirm your laptop has Wi-Fi Direct (Miracast) and supports it.
2. Enable Miracast on your monitor.
3. Select your second monitor from your laptop’s device list.
Conclusion
As you can see, there are many ways to connect 2 monitors to your laptop. Each method has its pros and cons, so it depends on your specific situation and preferences. Make sure you have the necessary ports or adapters, and don’t forget to configure your display settings. With these easy steps, you can increase your productivity and enjoy a more immersive user experience.


