I. Introduction
Gnomes have been a popular garden ornament for centuries, but with more people looking for eco-friendly and fun DIY projects, gnome-making has become a trending hobby. If you’re new to gnome-making, this guide will provide you with all the basic information you need to get started. From materials to techniques, we’ve got you covered.
II. A Beginner’s Guide to Making Your Own Gnome: Step-by-Step Instructions
The first step in gnome-making is to gather all the necessary materials and tools, such as felt, fabric glue, scissors, and beads, to create the unique and distinct features of your gnome. Once you have everything ready, you can begin making your own gnome following these step-by-step instructions:
- Choose your materials and colors for the body, hat, shoes, and any additional features you want to add.
- Cut out the felt pieces for the body, hat, and shoes according to their intended sizes.
- Using fabric glue, attach the body pieces together and add stuffing to make it plump.
- Follow the same process for the hat and shoes, and attach them to the body.
- Add any additional features, such as a beard or nose, using beads or felt pieces for detailing.
- Let the glue dry completely before you display your new gnome.
III. Gnome-Making 101: Tips and Tricks from a Professional Gnome-Maker
But make no mistake — gnome-making is more than just following instructions. Gnome-making can be a creative and personal experience, and as with any craft, there are tips and tricks to ensure your gnomes look and feel great.
We spoke to a gnome-making expert with years of experience in the field for some great advice on creating your own gnomes. Here are their top tips and tricks:
- Use a hot glue gun instead of fabric glue for better adhesion. Hot glue dries much quicker and is less likely to come apart.
- Always sew the body pieces first before gluing them together. This ensures a sturdier body and a smoother finish.
- Experiment with different fabrics to add texture and personality to your gnomes. Try using corduroy or burlap for a rustic feel, or sequin fabric for a glam look.
- Don’t be afraid to accessorize your gnomes. Add a tiny scarf or hat to personalize it even more.
- Use beads or other embellishments to create unique facial features like an expressive nose or eyes with a sparkle.
- Make sure to have fun and let your imagination run wild. Gnome-making is an opportunity to be creative and add your personal touch to each of your designs.
IV. Repurposing Your Old Shoes: How to Make Gnomes from Recycled Materials
If you want to try something more eco-friendly, you can also repurpose your old shoes and transform them into adorable garden gnomes. Here’s how:
- Cut off the sole of the shoe with a sharp pair of scissors or knife.
- Paint the shoe the color you want your gnome to be. Let it dry completely before you continue.
- Cut out a felt nose, beard, hat, and shoes for your gnome. Choose the colors that best complement your painted shoe.
- Glue the beard and nose to the toe of the shoe and attach the hat on the back end of the sole.
- Use a sharpie to draw on the eyes or attach beads to give your gnome facial features.
- Add any additional detailing you’d like, such as a felt flower or a small birdhouse.
- Let the glue dry completely before you display your new gnome.
Not only is this a fun and creative way to make a gnome, but this also contributes to minimizing waste in a fun way.
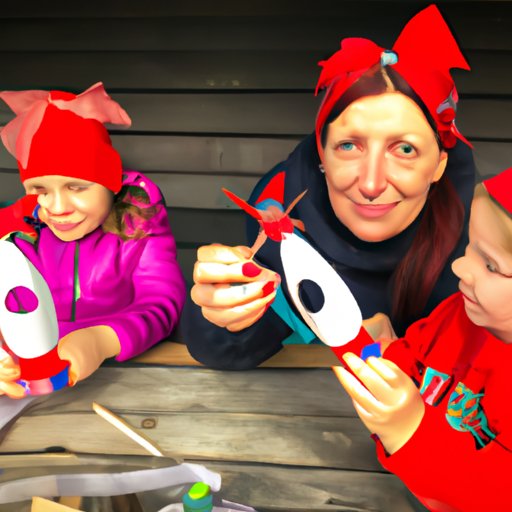
V. Gnome-Making with Kids: Fun Crafts for the Whole Family
One of the best things about gnome-making is that it’s an activity for all ages, which makes it an excellent opportunity for families to bond and create together. Here are some fun and simple gnome-making ideas for kids:
- Use a disposable cone-shaped cup as the base for your body instead of felt. Paint it the desired gnome color and let it dry.
- Cut out felt pieces for the hat, nose, and shoes of your gnome and glue them onto the body.
- Add any additional features, such as googly eyes or a pipe cleaner beard, for creative fun!
- Let the glue dry completely before displaying.
By involving your kids in creating a gnome, you stimulate their imagination and creativity while also creating memories that they will cherish for years to come.
VI. Garden Gnome Inspiration: Creative Designs for Your Next DIY Project
Now that you have the basic idea of how to create a gnome, you might want to get a little more creative with your designs. Here are some unique and exciting gnome designs that you can personalize and make your own:
- Mushroom Gnomes: Create a mushroom cap as hat and the gnome’s body to blend in the mushroom.
- Mermaid Gnomes: Give the gnomes a mermaid tail and shell bra to bring a touch of depth into your creative corner.
- Animal Gnomes: Experiment with different animals, such as a hedgehog gnome or a bird gnome. Make creative use of various materials like yarn, mesh material and furry felt!
You are only limited by your imagination, so let your creative juices flow and have fun!
VII. Conclusion
By following this guide, you now know how to create your own unique and personalized gnomes. Whether you choose to make them from scratch or repurpose old shoes, you can create fun and charming garden gnomes that will bring a homely touch and delightful visual to your gardens.


