Introduction
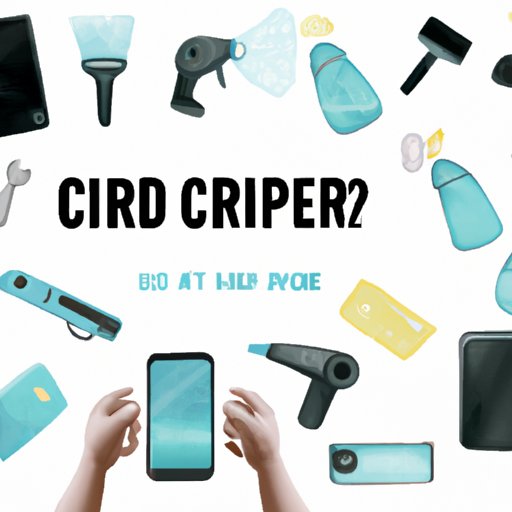
Screen protectors are essential accessories for electronic devices that offer an additional level of protection against scratches, dirt, and fingerprints. These protective films are easy to install and inexpensive, typically accompanied by instructions that make the process seem straightforward. However, the problem of air bubbles in screen protectors can be frustrating and can lead to an unsightly appearance and impair touch sensitivity. Fortunately, there are different ways to get rid of air bubbles from screen protectors, and this article will cover the most effective and practical methods.
Using a Credit Card to Push Out Air Bubbles
One of the most popular methods of removing air bubbles from a screen protector is by using a credit card. This method is simple and requires no additional materials besides a credit card. The card will help to press out any air bubbles, much like using a squeegee.
To use this method, start by cleaning your screen thoroughly and applying the screen protector as per the instructions. Next, place a credit card onto the surfaced screen protector, then push outwards and downwards towards the edges of the protector to remove the bubbles. Continue this process along the entire length of the screen’s surface, working out any remaining air bubbles on the way. If a stubborn bubble remains, gently place the credit card on top of it and hold it there for a few seconds. If any adhesive residue appears after the process, clean it with a microfiber cloth.
Please note, be cautious while using this method as the credit card’s hard edges can scratch the screen or damage the protector.
Applying Screen Protector in a Dust-Free Environment
Dust particles are a leading cause of air bubbles in screen protectors. To avoid trapping dust during installation, it’s essential to create a dust-free environment. Start by cleaning the table, work area, or other surfaces where the installation will take place. Use a dust cloth, tissue, or microfiber cloth to remove any dirt or debris. Once the surface is clean, apply the screen protector on top and ensure there is no speck of dust visible under the screen protector.
Additionally, as you are applying the screen protector, always take care not to touch the adhesive side as it could leave fingerprints or dirt, leading to bubbles. It may help to work slowly and methodically to prevent any dust particles from entering the area.
Spray Bottle Technique to Remove Air Bubbles
The spray bottle technique is useful for tackling larger, harder-to-remove air bubbles. This method is suitable for bigger screen protectors or when the area is heavily affected by air bubbles.
To use this method, start by cleaning the screen with a soft cloth. Next, spray a fine mist of water or cleaning solution onto the screen protector’s adhesive side. Quickly place the screen protector onto the device’s screen, aligning it correctly. The wet layer can help to move the screen protector around so that it’s lined up correctly. Then, take a credit card or squeegee and slowly and gently press the protector from the center to the edges, pushing out any remaining air bubbles as you go.
Once the protector is in place, use a lint-free cloth to absorb any remaining water or cleaning solution, and let it sit for a few hours to dry and settle. It’s essential not to use your device until the screen protector’s adhesive has dried completely.
Squeegee Method to Press Down the Protector
A squeegee is a small, flat tool with a rubber blade that is perfect for pressing down on the screen protector’s surface and out any air bubble. It is also relatively easier to use than other methods.
To use this method, start by applying the screen protector on the device screen per the instructions. Then, take a squeegee and press down gently on the protector’s surface, starting from the center and working your way out to the edges. Make sure to apply even pressure as you smooth out the surface and eliminate any air bubbles. Be gentle while using the squeegee as you do not want to create any scratches on the protector or device screen.
Using a Hairdryer or Heat Source to Get Rid of Air Bubbles
Heating the screen protector can help remove air bubbles by allowing the adhesive to soften and settle evenly. This method requires special care as overheating the device can damage the screen or cause the adhesive to adhere too firmly, making it challenging to remove.
To use this method, start by applying the screen protector as per the instructions. Next, turn on your hairdryer, setting it on low, and hold it a few inches away from the screen protector. If you don’t have a hairdryer, fill a bowl with boiling water and place the device over the bowl. Hold the device in place for a few moments, giving the adhesive time to soften and settle uniformly. Then, use a credit card or squeegee to remove any remaining air bubbles by pressing downwards at the protector’s edges and working your way towards the center. Remember that gently heating the adhesive will soften it, making it easier to press out any air bubbles and settle the screen protector.
Conclusion
Air bubbles in screen protectors are irritating, but thankfully, there are various ways to remedy the issue. In summary, removing bubbles requires a clean, dust-free environment and a gentle touch. Experiment with different methods and explore what works best for you, and most importantly, be patient throughout the process and take time to remove any remaining air bubbles. By following these steps, users can successfully get rid of air bubbles from screen protectors and enjoy the benefits of a fully protected and visually appealing device.


