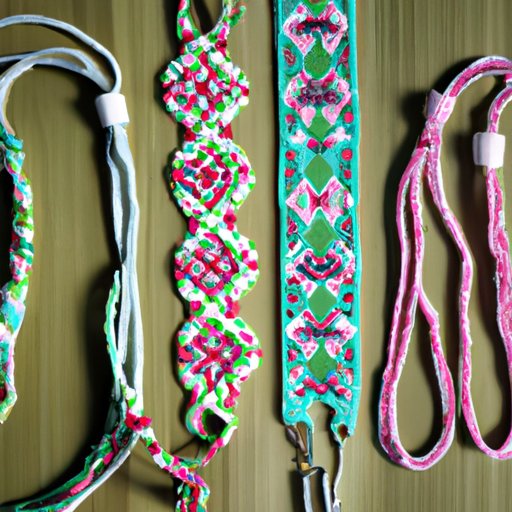
Introduction
Friendship bracelets have been a popular gift between friends for decades, and learning how to tie them has become a rite of passage for many. Whether it’s for a special occasion or just for fun, making friendship bracelets can be a creative and enjoyable activity. In this article, we will cover different methods and techniques for tying a friendship bracelet.
Step-by-Step Guide
First, choose the thread or yarn that you want to use for your bracelet. It is important to choose a material that is durable and won’t easily fray or break. Cut three strands of equal length, typically around 24 inches each.
Now, tie a knot at one end of the strands and secure it to a flat surface, such as a table or clipboard. This will act as your anchor while you tie the bracelet.
Then, separate the strands into three groups, placing one group on the left, one in the middle, and one on the right.
To begin, take the left strand and cross it over the middle strand, then take the right strand and cross it over the new middle strand. Repeat this process, alternating from left to right, until your bracelet is the desired length.
Finally, tie a knot at the end of your bracelet, and trim any excess thread.
Beginner’s Tips
For those new to friendship bracelet making, it is important to understand the basics of knotting. The two most common knots used in creating friendship bracelets are the forward knot and the backward knot. The forward knot involves taking one strand and tying it over the middle strand and then tying the other strand over the first. The backward knot uses the opposite technique, with the initial strand being tied under the middle strand.
Another tip is to keep your work space organized and clean. Choose an area where you can easily manage your thread and see your bracelet, and lay out your threads in a specific order to ensure a more organized and less tangled process.
DIY Projects
Once you’ve mastered the basic knotting techniques, you can start experimenting with different designs and color combinations. Alternate knotting techniques, such as adding a twist or bead to your bracelet, or incorporating different knot patterns, can add an interesting element to your bracelet.
For those wanting to take their friendship bracelet making to the next level, there are numerous DIY projects to try. Making personalized beaded bracelets, braided leather bracelets, or adding charms to your bracelet can all be fun and creative ways to tap into your crafty side.
Youtube Video Guide
If video tutorials are more your style, there are many step-by-step videos available on Youtube. These videos can be helpful for those who prefer to follow along visually. Additionally, written instructions may be included in the video description, offering the best of both worlds for those wanting to read and see simultaneously.
Personal Story
For me, learning how to tie friendship bracelets was a fun bonding experience with friends. We spent many hours experimenting with different color combinations and patterns, creating unique designs for each other. It wasn’t just about the end product, but also the memories and laughs shared while creating them.
Conclusion
In conclusion, tying friendship bracelets can be a fun and rewarding activity for all ages. Whether you’re a beginner or looking to try more advanced projects, there are endless possibilities for creating unique and meaningful bracelets. From knotting techniques to DIY projects and personal stories, we hope this article inspires you to dive in and start creating your own special friendship bracelets.


