Introduction
If you’re looking for an exciting and unique way to accessorize, making your own ring can be a fun and satisfying DIY project. Whether you’re a beginner looking to experiment with simple wire-wrapped rings or an experienced crafter hoping to create a statement piece, this article has something for everyone. In this article, we’ll cover everything from basic tutorials to advanced techniques, and provide tips and ideas for customization. So let’s dive in.
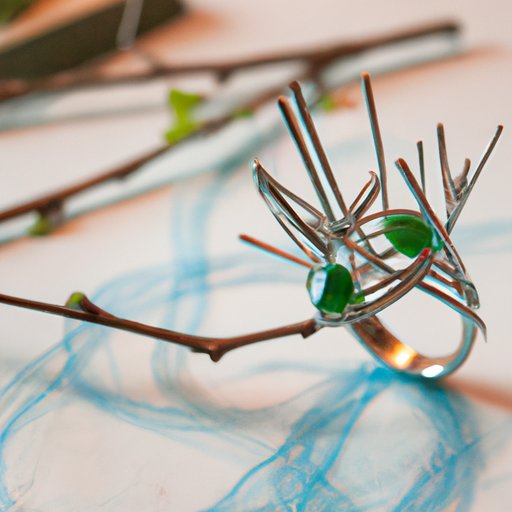
Simple Wire-wrapped Ring Tutorial
If you’re new to ring-making, a simple wire-wrapped ring can be a great place to start. Here are the supplies you’ll need:
- Wire (copper, brass, or silver)
- Wire cutters
- Jewelry pliers (round-nose, flat-nose, and chain-nose)
Follow these simple steps to create your own wire-wrapped ring:
- Cut a length of wire about six inches long.
- Using your round-nose pliers, create a small loop at one end of the wire. This will be the top of your ring.
- Grip the loop tightly with your flat-nose pliers and wrap the rest of the wire tightly around the loop, forming a band. Be sure to wrap the wire as tightly and even as possible.
- Once the band is the desired size, snip off the extra wire and use your chain-nose pliers to tuck the end of the wire so it won’t poke or catch on clothing, etc.
Some common issues that can arise while creating wire-wrapped rings include misshapen bands or uneven wraps. To avoid these issues, try to keep your wraps as tight and even as possible, and adjust as necessary throughout the process.
Unique and Personalized Rings
Once you’ve mastered the basics, it’s time to explore different materials, techniques, and styles. Here are a few ideas for creating unique and personalized rings:
- Use recycled materials such as bottle caps or keys to create unexpected and eco-friendly rings.
- Experiment with unconventional materials such as resin, wood, or beads to add texture and interest to your rings.
- Use letter stamps or engraved metal plates to add a personalized touch to your ring.
When working with different materials, it’s important to take safety precautions. For example, when working with resin, always work in a well-ventilated space and wear gloves to protect your skin.
Historical and Cultural Significance
Rings have been a symbol of love and commitment for centuries, and different cultures have their own unique designs and styles. Here’s a tutorial on creating a simple but meaningful ring using traditional designs:
- Choose a metal wire that is commonly associated with a specific culture. For example, gold wire can be used for traditional Indian rings while silver is often used for Native American-inspired designs.
- Use a mandrel, or a cylindrical tool, to create the basic shape of your ring. Wrap the wire around the mandrel to create a circle, and then use pliers to shape the wire into a band.
- Add decorative elements such as beads, braided wire, or engraved metal plates that are common to the culture you’re replicating.
Keep in mind that different cultures have different meanings for different symbols, so it’s important to research and understand the significance of your design choices.
Statement Ring DIY Guide
If you’re ready to take your ring-making skills to the next level, try creating a statement ring using resin and natural materials. Here’s how:
- Supplies needed include epoxy resin, various natural materials such as flowers or dried leaves, a ring mold, mixing cups, and stirrers.
- Mix the resin according to the manufacturer instructions, making sure to use protective gloves and work in a well-ventilated area.
- Place your natural materials into the ring mold, arranging them in a way that’s pleasing to your eye. Slowly pour the resin into the mold, taking care to cover all the materials evenly.
- Let the resin cure for the recommended amount of time, and then remove the ring from the mold. Use sandpaper or a rotary tool to smooth any rough spots or edges on the ring.
To customize your ring, experiment with using different natural materials or adding colors to the epoxy resin.
Beginner-friendly Beaded Wire Ring Tutorial
Beaded wire rings are a great project for beginners, and can be easily customized with different colors and bead sizes. Here’s what you’ll need:
- 20-gauge craft wire
- Beads
- Wire cutters
- Jewelry pliers (round-nose, flat-nose, and chain-nose)
Follow these steps to create your own beaded wire ring:
- Measure a length of wire that’s slightly longer than the circumference of your finger.
- Using your round-nose pliers, create a small loop at one end of the wire. This will be the top of your ring.
- Thread your chosen beads onto the wire, leaving enough room for the band of the ring.
- Once you’ve added enough beads, use your chain-nose pliers to create a loop at the end of the wire, creating the bottom of your ring.
To add variety to your rings, try experimenting with different bead colors or shapes.
Conclusion
Ring-making is an endlessly customizable and creative DIY project that can be as simple or involved as you want it to be. Whether you’re just starting out or looking for new inspiration, these tutorials and tips can help you create a beautiful and unique ring that reflects your personal style. So grab your tools, start experimenting, and have fun creating your own rings!
Additional resources: For more ring-making inspiration and ideas, check out online communities such as Pinterest, craft blogs, and YouTube tutorials.


