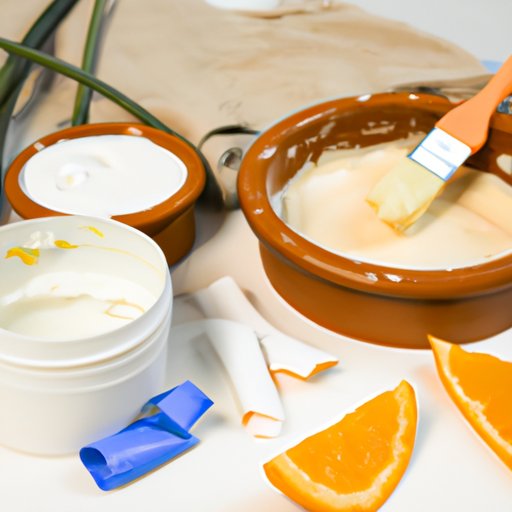
I. Introduction
Are you tired of spending money on store-bought lotion that never quite seems to work for your skin type? Have you ever wanted to make your own lotion but didn’t know where to start? Look no further! This article will provide you with a step-by-step guide on how to make homemade lotion, complete with tips, tricks, and DIY recipes tailored to different skin types.
II. A Step-By-Step Guide To Making Homemade Lotion
Before you start making your own lotion, it’s important to have all the necessary ingredients and equipment. You’ll need:
- 1/4 cup beeswax
- 1/2 cup organic coconut oil
- 1/2 cup organic shea butter
- Essential oils of your choice (optional)
- Measuring cups and spoons
- Double boiler or a makeshift one (heatproof bowl over a pot of simmering water)
- Whisk or spatula
- Container for lotion (jar or bottle)
Once you have all your ingredients and equipment ready, follow these steps:
- Melt beeswax in a double boiler or makeshift one until it’s completely liquefied.
- Add coconut oil and shea butter to the melted beeswax, stirring occasionally until everything is completely melted and combined.
- If you want to add essential oils, wait for the mixture to cool slightly before adding them. Use 10-15 drops per cup of lotion base.
- Whisk the mixture until it becomes smooth and creamy.
- Pour the lotion into your container and let it cool completely before using.
It’s that simple! Homemade lotion is a great way to customize your skincare routine and avoid harsh chemicals found in store-bought lotions. See visual instructions of the process below:

III. The Benefits Of Making Your Own Lotion
Making your own lotion not only allows you to control what ingredients are in it, but it can also save you money in the long run. While store-bought lotions can be costly and only contain a small amount, homemade lotion recipes can often make larger batches at a fraction of the cost.
By making your own lotion, you can also cater to your specific skin needs. You can use natural, organic ingredients and even personalize the scent and texture to fit what works best for you.
IV. DIY Lotion Recipes For Different Skin Types
Not all skin types are created equal, and that’s why it’s important to use the right ingredients when creating lotion. Here are some DIY lotion recipes for different skin types:
Oily Skin:
- 1/2 cup aloe vera gel
- 1/2 cup grapeseed oil
- 10 drops tea tree essential oil
Dry Skin:
- 1/2 cup avocado oil
- 1/4 cup jojoba oil
- 1/4 cup shea butter
- 10 drops lavender essential oil
Sensitive Skin:
- 1/2 cup chamomile infused oil (infuse dried chamomile in your carrier oil of choice overnight)
- 1/4 cup beeswax
- 1/4 cup shea butter
- 10 drops chamomile essential oil
It’s important to note that using natural and organic ingredients can be beneficial for all skin types. Avoiding harsh chemicals and synthetic fragrances can lead to healthier, happier skin.
V. Tips And Tricks For Making Lotion At Home
While making lotion at home can be a fun and rewarding experience, there are some common mistakes to avoid:
- Using too much beeswax – this can make the lotion too thick and greasy
- Not using enough beeswax – this can result in lotion that is too runny and won’t absorb into the skin
- Not waiting for the lotion to cool enough before adding essential oils – this can result in losing the therapeutic benefits of the oils
If you experience any issues, such as separating or not blending well, try gently reheating and whisking the lotion until it becomes smooth again.
If you’re feeling adventurous, try customizing your recipe to fit your personal taste. Add more or less essential oils depending on your preferences, or switch up the carrier oils for a different texture or scent.
VI. Choosing The Right Ingredients For Your Homemade Lotion
Choosing the right ingredients for your homemade lotion can be overwhelming. It’s important to choose ingredients that are good for your skin and won’t cause irritation. Using natural and organic options can reduce the risk of harsh chemicals and additives.
Some popular carrier oils for lotion include:
- Jojoba oil – has a similar texture to our skin’s natural oils, making it a popular option for lotion
- Sweet almond oil – a nourishing oil that leaves the skin feeling soft and supple
- Grapeseed oil – a lightweight oil that absorbs quickly and is good for those with oily skin
When it comes to essential oils, make sure to choose oils that are skin-safe and won’t cause irritation or an allergic reaction. Some popular essential oils for lotion include lavender, tea tree, and peppermint.
VII. How To Turn Your Homemade Lotion Into A Small Business
If you find that your friends and family love your homemade lotion, you may consider turning it into a small business. Here are some tips on how to do so:
- Research regulations and requirements for selling skincare products in your area
- Develop a unique brand and packaging for your product
- Calculate your costs, including materials, packaging, and labor, to set appropriate pricing
- Market your product on social media, at local markets or craft fairs, or through word of mouth
Remember, starting a small business takes time and effort, but it can be a great way to turn your passion for skincare into a career.
VIII. Conclusion
Homemade lotion is a fun and cost-effective way to customize your skincare routine and avoid harsh chemicals found in store-bought lotions. By following this step-by-step guide, you can create your own lotion tailored to your skin’s needs. Don’t be afraid to experiment with different carrier oils and essential oils to find what works best for you. If you find that you have a knack for making lotion, consider turning it into a small business.


