I. Introduction
A self-cleaning oven is a kitchen appliance that uses high temperatures to burn off food build-up and grime inside the oven. Instead of having to scrub and clean your oven manually, you can simply set it to clean itself – saving you time and effort.
There are many benefits to having a self-cleaning oven in your kitchen. Not only does it make cleaning easier, but it can also prevent the growth of harmful bacteria and improve the overall efficiency of your oven.
II. Preparing to Clean
Before starting the self-clean cycle, there are a few steps you should take to prepare your oven:
A. Step-by-step instructions for preparing your oven for self-cleaning
First, remove any large debris from the oven, such as leftover food or cooking utensils. Be sure to also remove the oven racks. Leaving them in during the self-clean cycle can cause discoloration and damage to the racks.
B. Removing large debris
To remove large debris, you can use a damp cloth or paper towel. If any food or grime is particularly stuck-on, use a plastic scraper to gently remove it.
C. Wiping down the interior
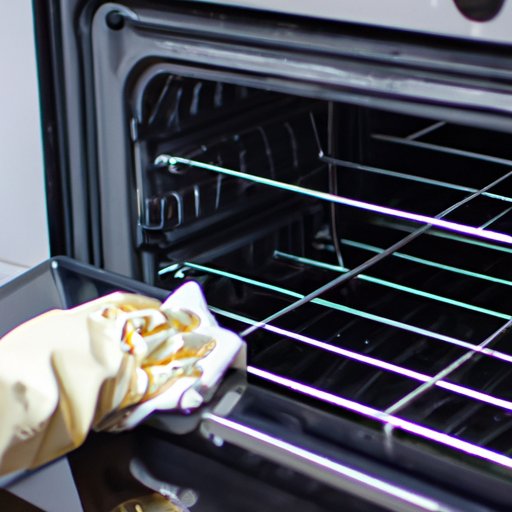
Next, wipe down the interior of the oven with a damp cloth or sponge. This will help remove any remaining debris and make the self-clean cycle more effective.
D. Setting the self-clean cycle
After preparing your oven, consult your owner’s manual for specific instructions on how to start the self-clean cycle. Most ovens will require you to set a timer or press a button to begin the process.
III. Choosing the Right Setting
Self-cleaning ovens typically come with a variety of settings that can be customized to your specific cleaning needs:
A. Explanation of the different self-clean settings available
One popular setting is the “light” or “quick” clean, which is best for minor food spills and light grime. For more heavy-duty cleaning, a “heavy” or “deep” clean may be necessary. Some ovens even have a “steam” setting, which uses moisture to help clean the oven.
B. When to use each setting based on the level of cleaning needed
When choosing your self-clean setting, consider the level of cleaning needed and how long the cycle will take. Light clean cycles usually take around 1-2 hours, while heavier cycles can take up to 4 hours.
IV. Running the Self-Clean Cycle
Once you’ve chosen the appropriate setting for your self-clean cycle, it’s time to start the process:
A. Guide to starting and monitoring the self-clean cycle
During the self-clean cycle, the oven will heat up to very high temperatures, typically around 900 degrees Fahrenheit. It’s important to monitor the cycle and avoid opening the oven door until the cycle is complete.
B. Tips for dealing with any smoke or odors produced during the process
It’s normal to experience some smoke or odors during the self-clean cycle, as any remaining food or debris is burned off. To minimize any discomfort, ensure proper ventilation and avoid using the oven for several hours after the cycle is complete.
V. Cleaning up After Self-Cleaning
After the self-clean cycle is complete, you may notice ash or residue left behind:
A. Tips for safely and efficiently cleaning up ash or residue left behind
To safely and efficiently clean up any ash or residue, use a damp cloth or sponge to wipe down the interior of the oven. Be sure to avoid using any harsh chemicals or abrasives, as this can damage the oven’s interior.
B. Tools and materials needed for cleaning up
You may also want to consider using a vacuum to help remove any remaining ash or debris from the oven.
VI. Maintenance Tips
To ensure your self-cleaning oven stays in top condition, there are a few maintenance steps you can take:
A. Suggestions for keeping your self-cleaning oven in top condition
Regularly wiping down your oven with a damp cloth or sponge can help prevent the build-up of food debris and grime. Additionally, scheduling a professional cleaning every year or two can help keep your oven working effectively and efficiently.
B. When to schedule a professional cleaning
If you notice any issues with your self-cleaning oven, such as excessive smoke or heating problems, it may be time to schedule a professional cleaning. A qualified technician can help diagnose any issues and clean your oven more thoroughly than a home self-clean cycle can.
C. Troubleshooting common issues
If you’re experiencing any issues with your self-cleaning oven, consult your owner’s manual or reach out to a qualified technician for troubleshooting advice. Some common issues include errors with the self-clean cycle and problems with the oven’s temperature regulation.
VII. Conclusion
Investing in a self-cleaning oven can be a smart choice for any home cook. Not only does it save you time and effort during cleaning, but it can also help prevent harmful bacteria growth and improve the overall efficiency of your oven. However, it’s important to follow safety precautions when using this feature, such as proper ventilation and avoiding harsh chemicals. By taking care of your self-cleaning oven and scheduling regular maintenance, you can enjoy its benefits for years to come.


