I. Introduction
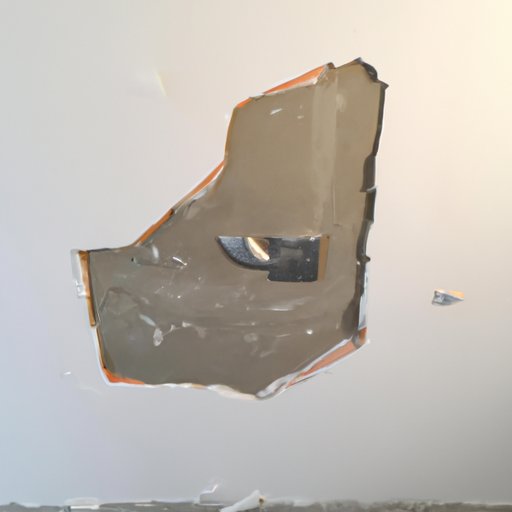
Wall holes are a common problem that can make your home look unsightly and compromise the integrity of your walls. Knowing how to fill them is an essential skill for any homeowner looking to take care of their property. This article will provide a step-by-step guide on how to fill wall holes, including small holes in drywall, nail holes, damaged drywall, plaster walls, and more.
II. A Step-By-Step Guide to Repairing Small Holes in Drywall
Small holes in drywall are typically caused by nails, screws, or accidental bumps with furniture. Luckily, they are easy to repair with a few simple tools and materials. You’ll need spackle, a putty knife, sandpaper, and a paintbrush.
To start, clean the hole with a dry cloth or brush to remove any dust or debris. Then, cover the hole with spackle using a putty knife. Smooth the spackle out and remove any excess. Let it dry for a few hours or overnight. Once the spackle is dry, sand it gently until it’s flush with the wall. Finally, use a paintbrush to apply touch-up paint to match the color of the wall. Voila! Your small hole is now filled and invisible.
III. Simple Solutions for Filling Nail Holes in Walls
Unlike small holes in drywall, nail holes leave a smaller impression that can be filled with a different approach. For a simple and quick solution, rub a bar of soap or a white toothpaste over the nail hole until it’s filled. Then, wipe away any excess with a damp cloth. Alternatively, you can use spackle and a putty knife as mentioned in the previous section.
When working with plaster walls, you’ll want to use a slightly different technique. After filling the nail hole, use a damp sponge to blend the spackle or toothpaste with the rest of the wall. This will help create a smooth finish that blends in with the surrounding area.
IV. How to Repair Damaged Drywall with Spackle and Joint Compound
When it comes to damaged drywall, it’s important to identify the type of holes to decide whether to use spackle or joint compound. Spackle is best for smaller holes, while joint compound is better suited for larger holes. When filling a larger hole, you will need to use a self-adhesive mesh patch before adding the joint compound to ensure a smooth and even finish.
To start, clean the area around the hole with a dry cloth or brush. Then, cut a piece of mesh patch large enough to cover the hole. Apply the mesh patch over the hole, pressing it into place until it is firmly attached. Then, take a putty knife and cover the mesh patch with a thin layer of joint compound. Be sure to smooth the compound out so that it’s flush with the wall. Let the compound fully dry before sanding and applying touch-up paint.
V. Expert Tips for Patching and Repairing Holes in Plaster Walls
Repairing holes in plaster walls can be more challenging than drywall due to the nature of the material. For small holes, you can use adhesive plaster patches to fill the hole. Simply clean the area around the hole and apply the patch, smoothing it out with a putty knife. Then, use a damp sponge to blend it in with the surrounding area.
For larger holes, you’ll want to use a similar technique as with drywall repair. Clean the area around the hole, cut a mesh patch to size, and apply it to the hole. Apply several layers of joint compound with a putty knife, letting each layer dry fully before adding the next. Sand the area until flush with the wall and apply touch-up paint.
VI. DIY Tricks: How to Fill Unsightly Holes in Your Wall in No Time
There are times when you don’t have spackle, joint compound, or patches on hand, but that doesn’t mean you can’t fix your wall holes quickly. There are several household items you can use as a temporary solution. For example, white toothpaste, baking soda and glue, or a crayon can all fill holes and blend in with the surrounding wall color.
While these methods may not be as durable as traditional materials, they can be a helpful quick fix in a pinch.
VII. From Tiny Dents to Big Gashes: The Best Methods for Fixing Holes in Your Wall
Whether you’re dealing with small nail holes or larger damaged areas in your walls, there’s a solution to fit every need. Knowing the proper approach and which tools to use can save you time and hassle in the long run. Assess the size and type of hole you need to repair to determine which approach is best for you, and don’t be afraid to seek professional help for larger or more complex repairs.
VIII. Conclusion
With the help of this step-by-step guide, you’ll have all the knowledge and tools necessary to tackle any hole in your walls. Whether you’re an experienced DIY enthusiast or new to home repairs, filling wall holes is an easy and practical skill that you can put to use in your everyday life. Don’t settle for unsightly walls; take the initiative and repair them using the methods outlined in this article.


